How to Clean a Water Flosser After Use: Essential Maintenance Tips for Longevity
- Why Cleaning Your Water Flosser Matters
- Step-by-Step Guide on How to Clean a Water Flosser
- Common Mistakes to Avoid When Cleaning
- Cleaning Tips for Long-Term Care
- Conclusion
1. Why Cleaning Your Water Flosser Matters
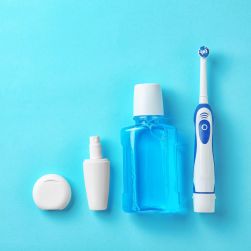
Cleaning your water flosser after each use is crucial to ensure its longevity and maintain optimal performance. A well-maintained water flosser helps you enjoy better oral hygiene and prevents the buildup of bacteria or mold, which can affect the quality of your flossing experience. Neglecting proper cleaning can lead to clogs, unpleasant odors, and damage to your device over time. Just as you would clean a toothbrush, it’s important to keep your water flosser in top shape.
2. Step-by-Step Guide on How to Clean a Water Flosser
Follow these simple steps to clean your water flosser after every use:
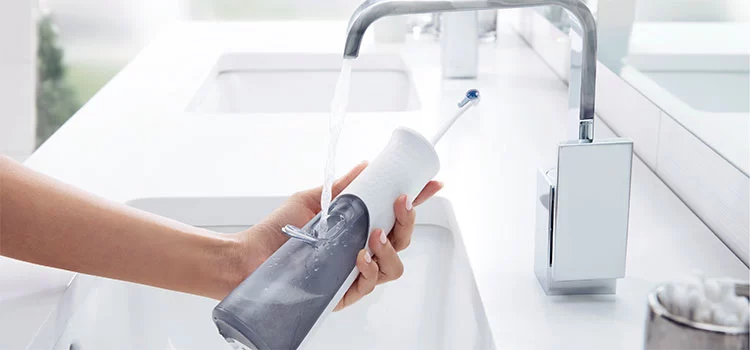
- Rinse the Reservoir: Empty the water reservoir after each use. Rinse it thoroughly with warm water to remove any leftover debris or plaque.
- Clean the Tip: Detach the flosser tip and rinse it under warm water. Use a toothbrush to scrub away any buildup on the nozzle, ensuring a smooth water flow next time.
- Sanitize the Tank: Once a week, fill the reservoir with a mixture of water and white vinegar (or a gentle cleaning solution) and run it through the system for a few seconds to disinfect the interior.
- Dry and Store Properly: After cleaning, allow all parts to dry completely before reassembling the device. Store it in a cool, dry place to avoid mold or mildew growth.
By following these easy cleaning steps, you can extend the life of your water flosser and maintain optimal oral health.
3. Common Mistakes to Avoid When Cleaning
While cleaning your water flosser is easy, there are a few common mistakes that people often make. Avoid these to keep your device in the best condition:
- Using Harsh Chemicals: Avoid cleaning your water flosser with bleach or abrasive chemicals, as they can damage the internal components.
- Forgetting to Dry the Components: Don’t skip drying your flosser after cleaning. Moisture can encourage the growth of bacteria and mold.
- Not Cleaning the Reservoir Regularly: It's important to clean the water reservoir regularly, as stagnant water can lead to the buildup of bacteria.
By avoiding these common mistakes, you can keep your water flosser working effectively for a long time.
4. Cleaning Tips for Long-Term Care
To ensure your water flosser remains in good condition for years, follow these long-term maintenance tips:
- Use Distilled Water: Using distilled or purified water can prevent mineral buildup inside the flosser and improve its performance.
- Store Properly: When not in use, always store your water flosser in a dry place, away from direct sunlight and humidity.
- Replace the Tip Regularly: Over time, the flosser tip can wear down. Replace it every 3-6 months for optimal results.
By implementing these maintenance habits, your water flosser can serve you well for a longer time, making it a valuable tool in your daily oral care routine.
5. Conclusion
Cleaning your water flosser after use is essential to maintain its performance, extend its life, and ensure your oral hygiene routine remains effective. By following the step-by-step guide, avoiding common mistakes, and implementing long-term care tips, you can keep your device running smoothly. Ready to upgrade your oral care routine with a high-quality water flosser? Visit Dentistry Toothtruth to explore the latest models and get expert advice on maintaining your water flosser. Your smile will thank you!